This is a short hands-on tutorial on using the app.
We will create a new notebook, add some notebook entries and learn some basic navigation features.
Create a notebook
We will create a new notebook called test.
Open the app. If you already have a notebook open, please close it by going to the menu button on the top left corner and clicking Close.
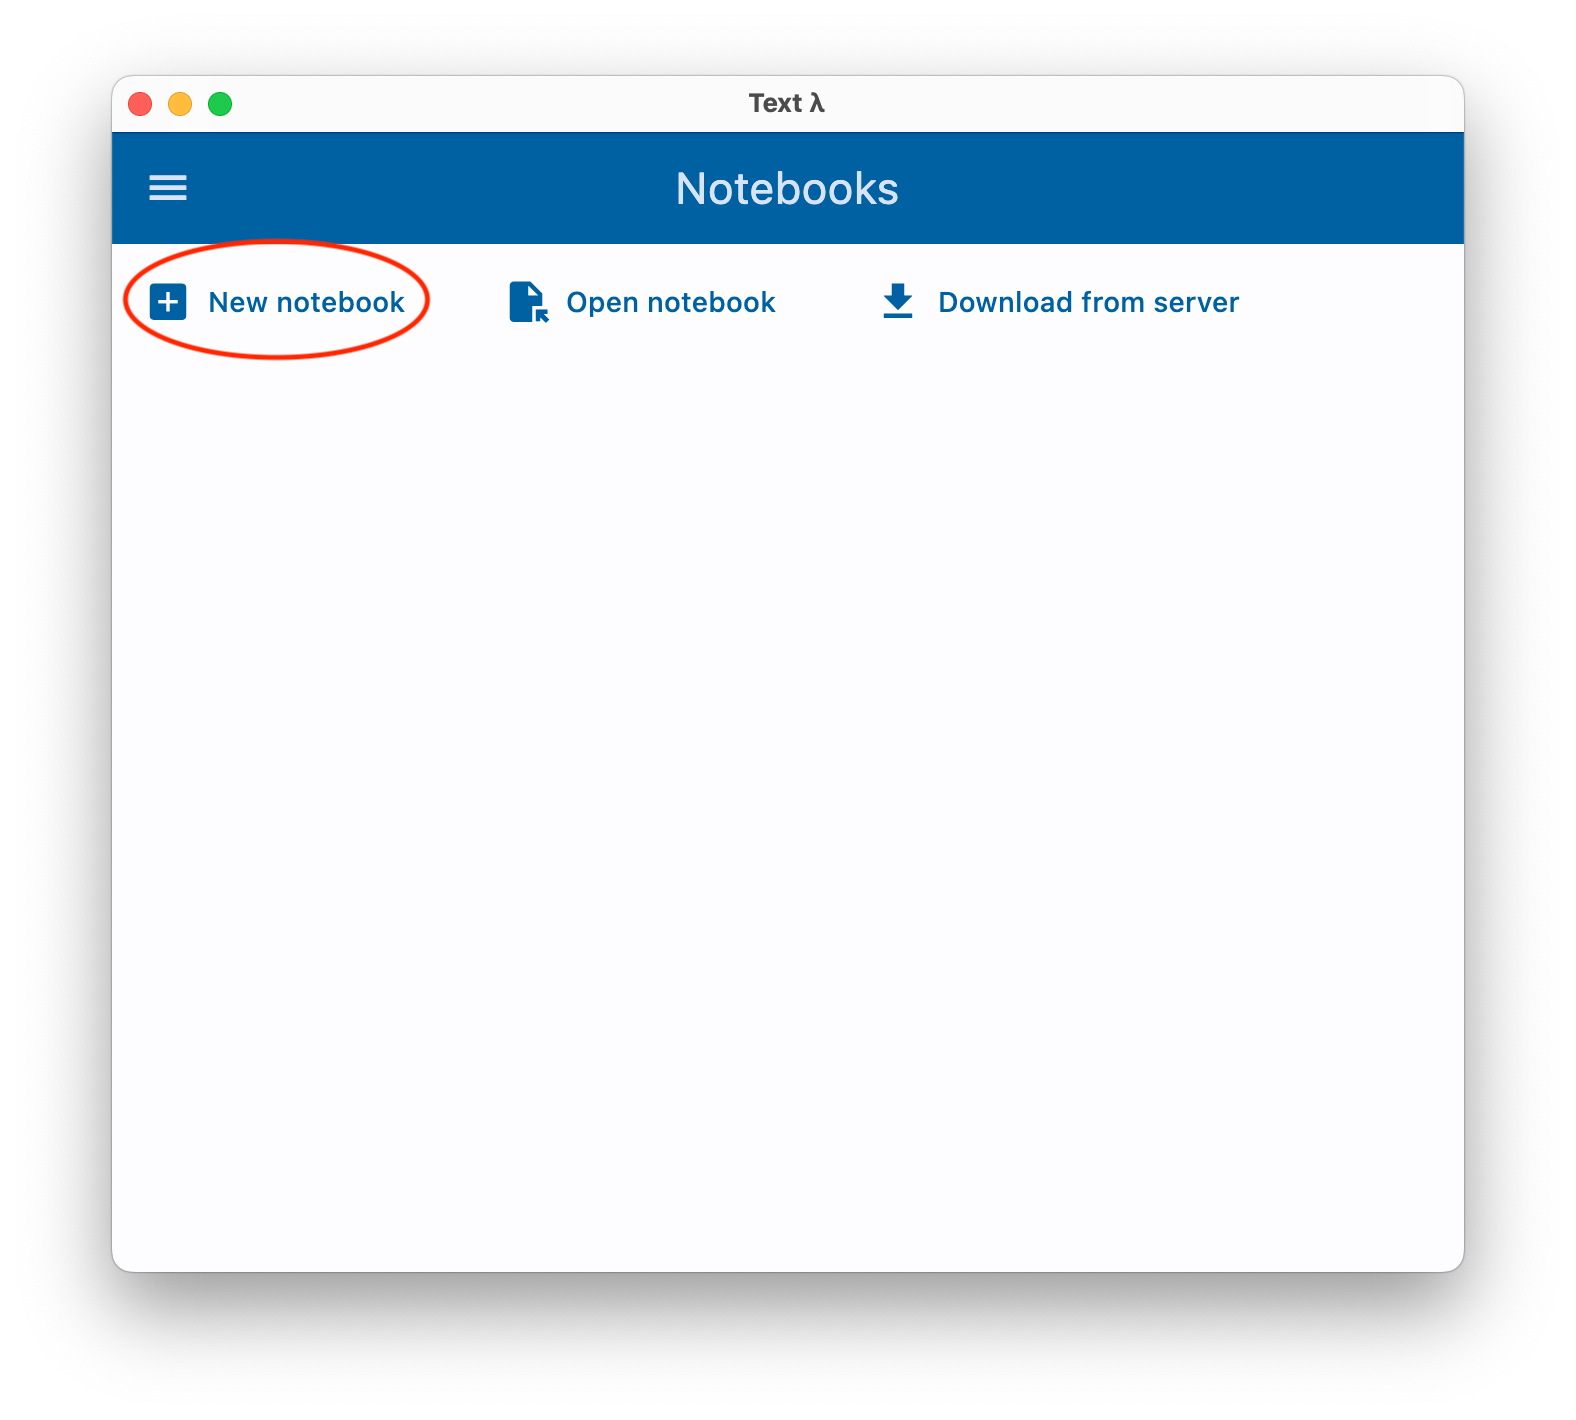
You should see a screen like the following. Click on the New notebook button.
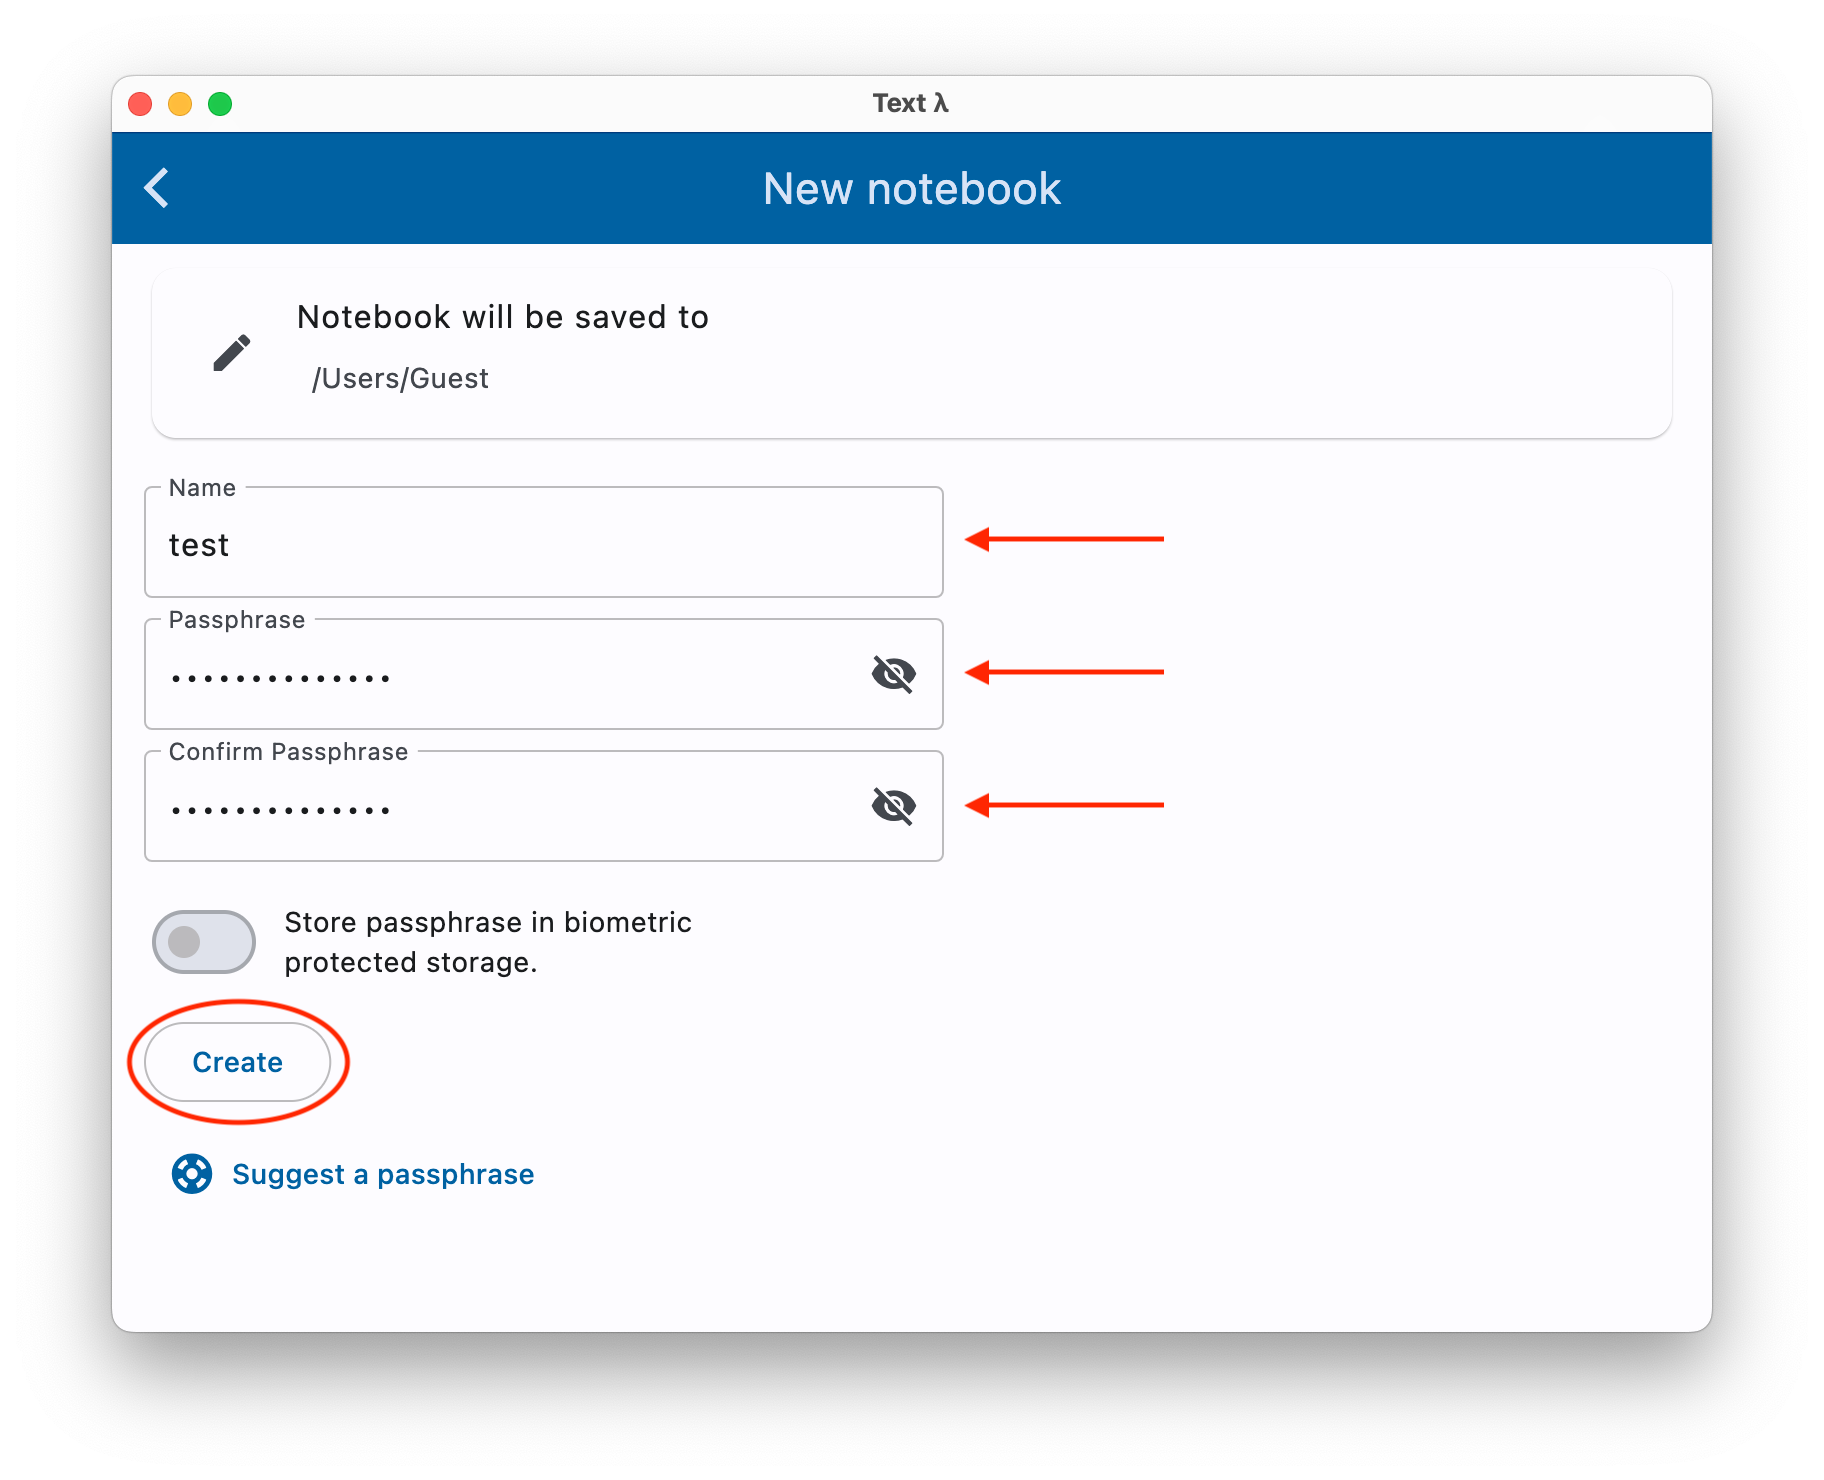
Enter test as the name for the notebook. Pick any 14+ letter passphrase for the notebook.
Create a new entry
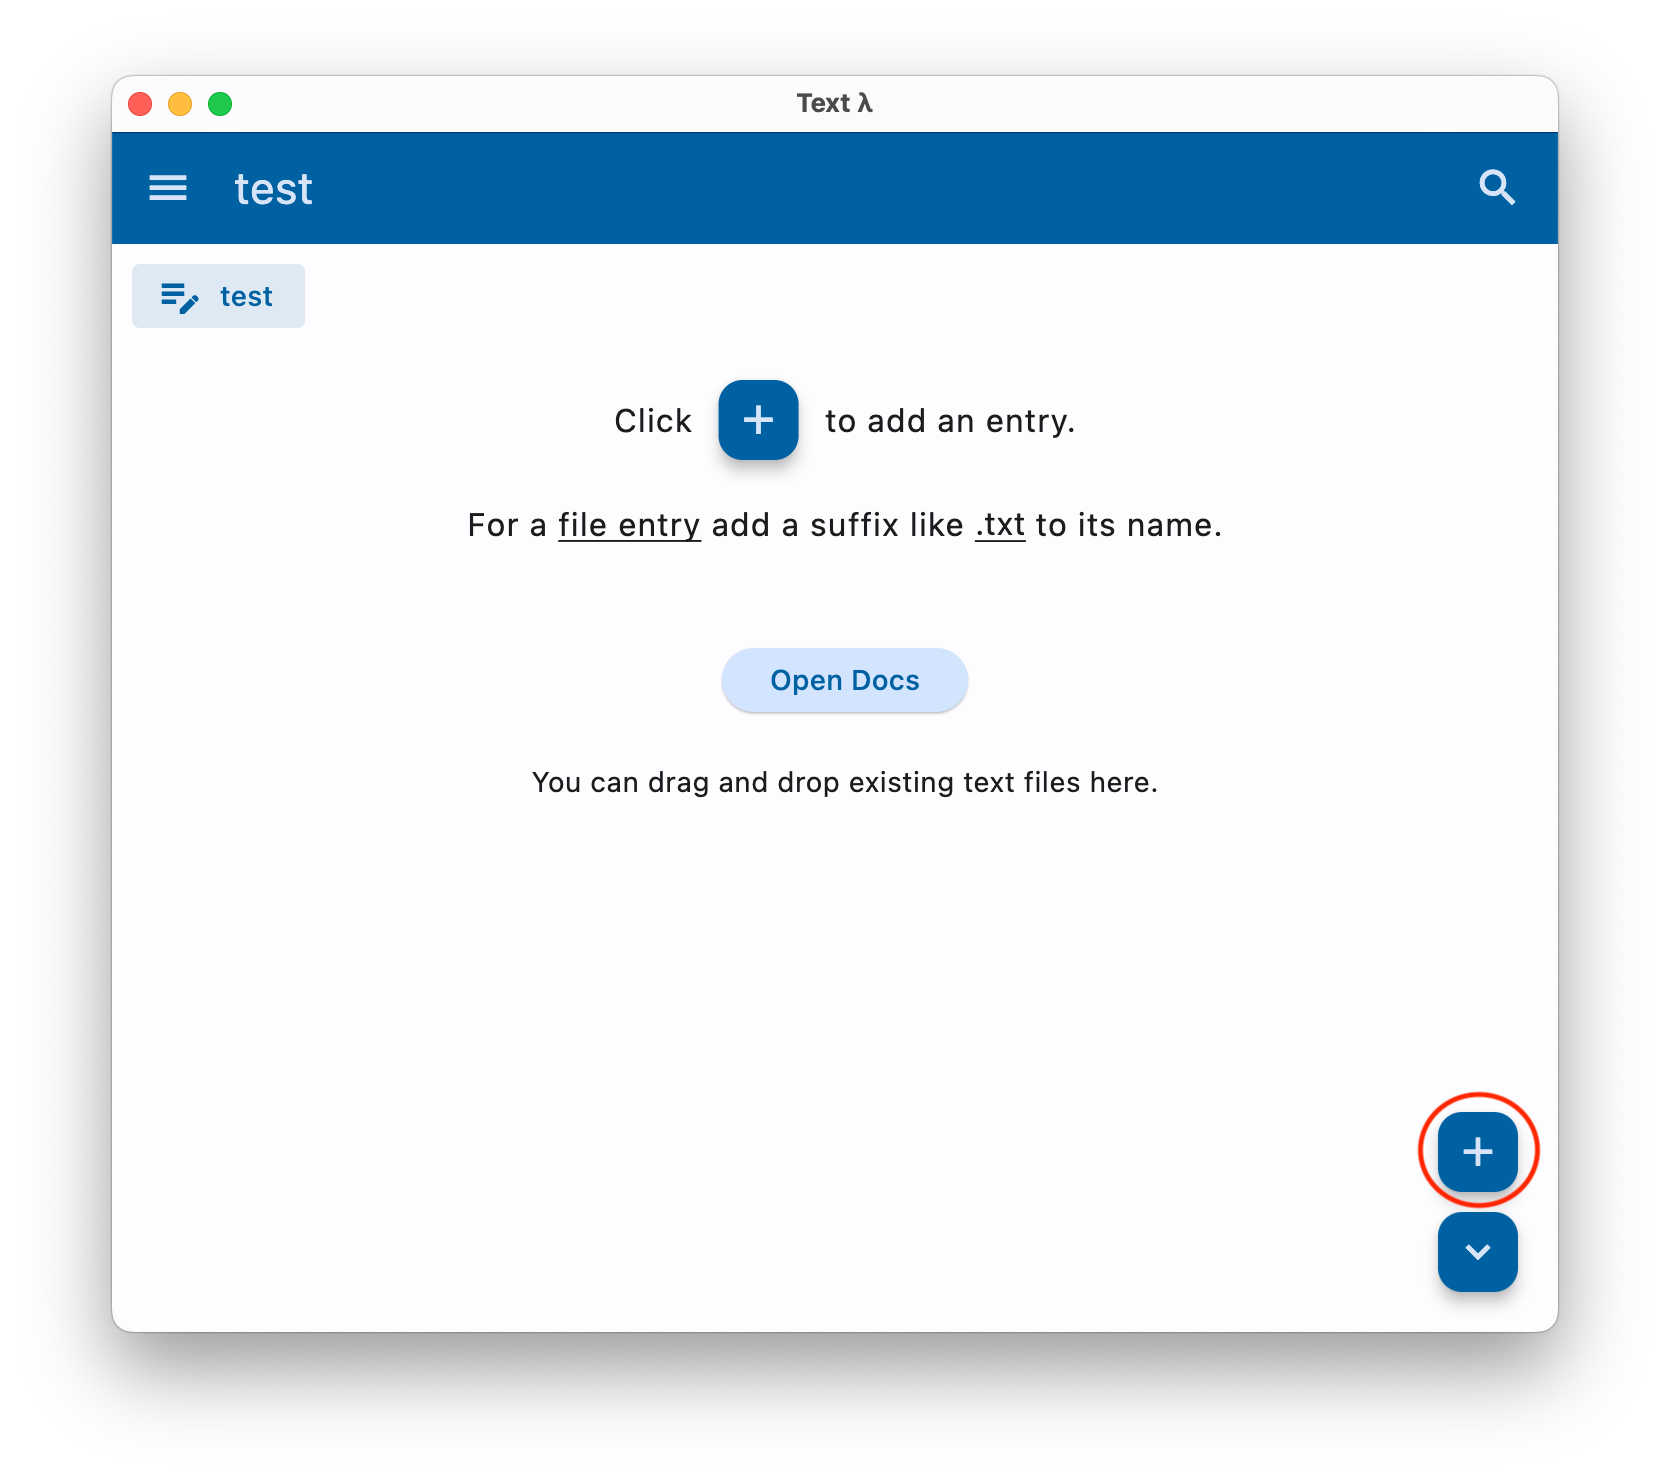
You should see a screen like the following. Click on the + button near the bottom right corner.
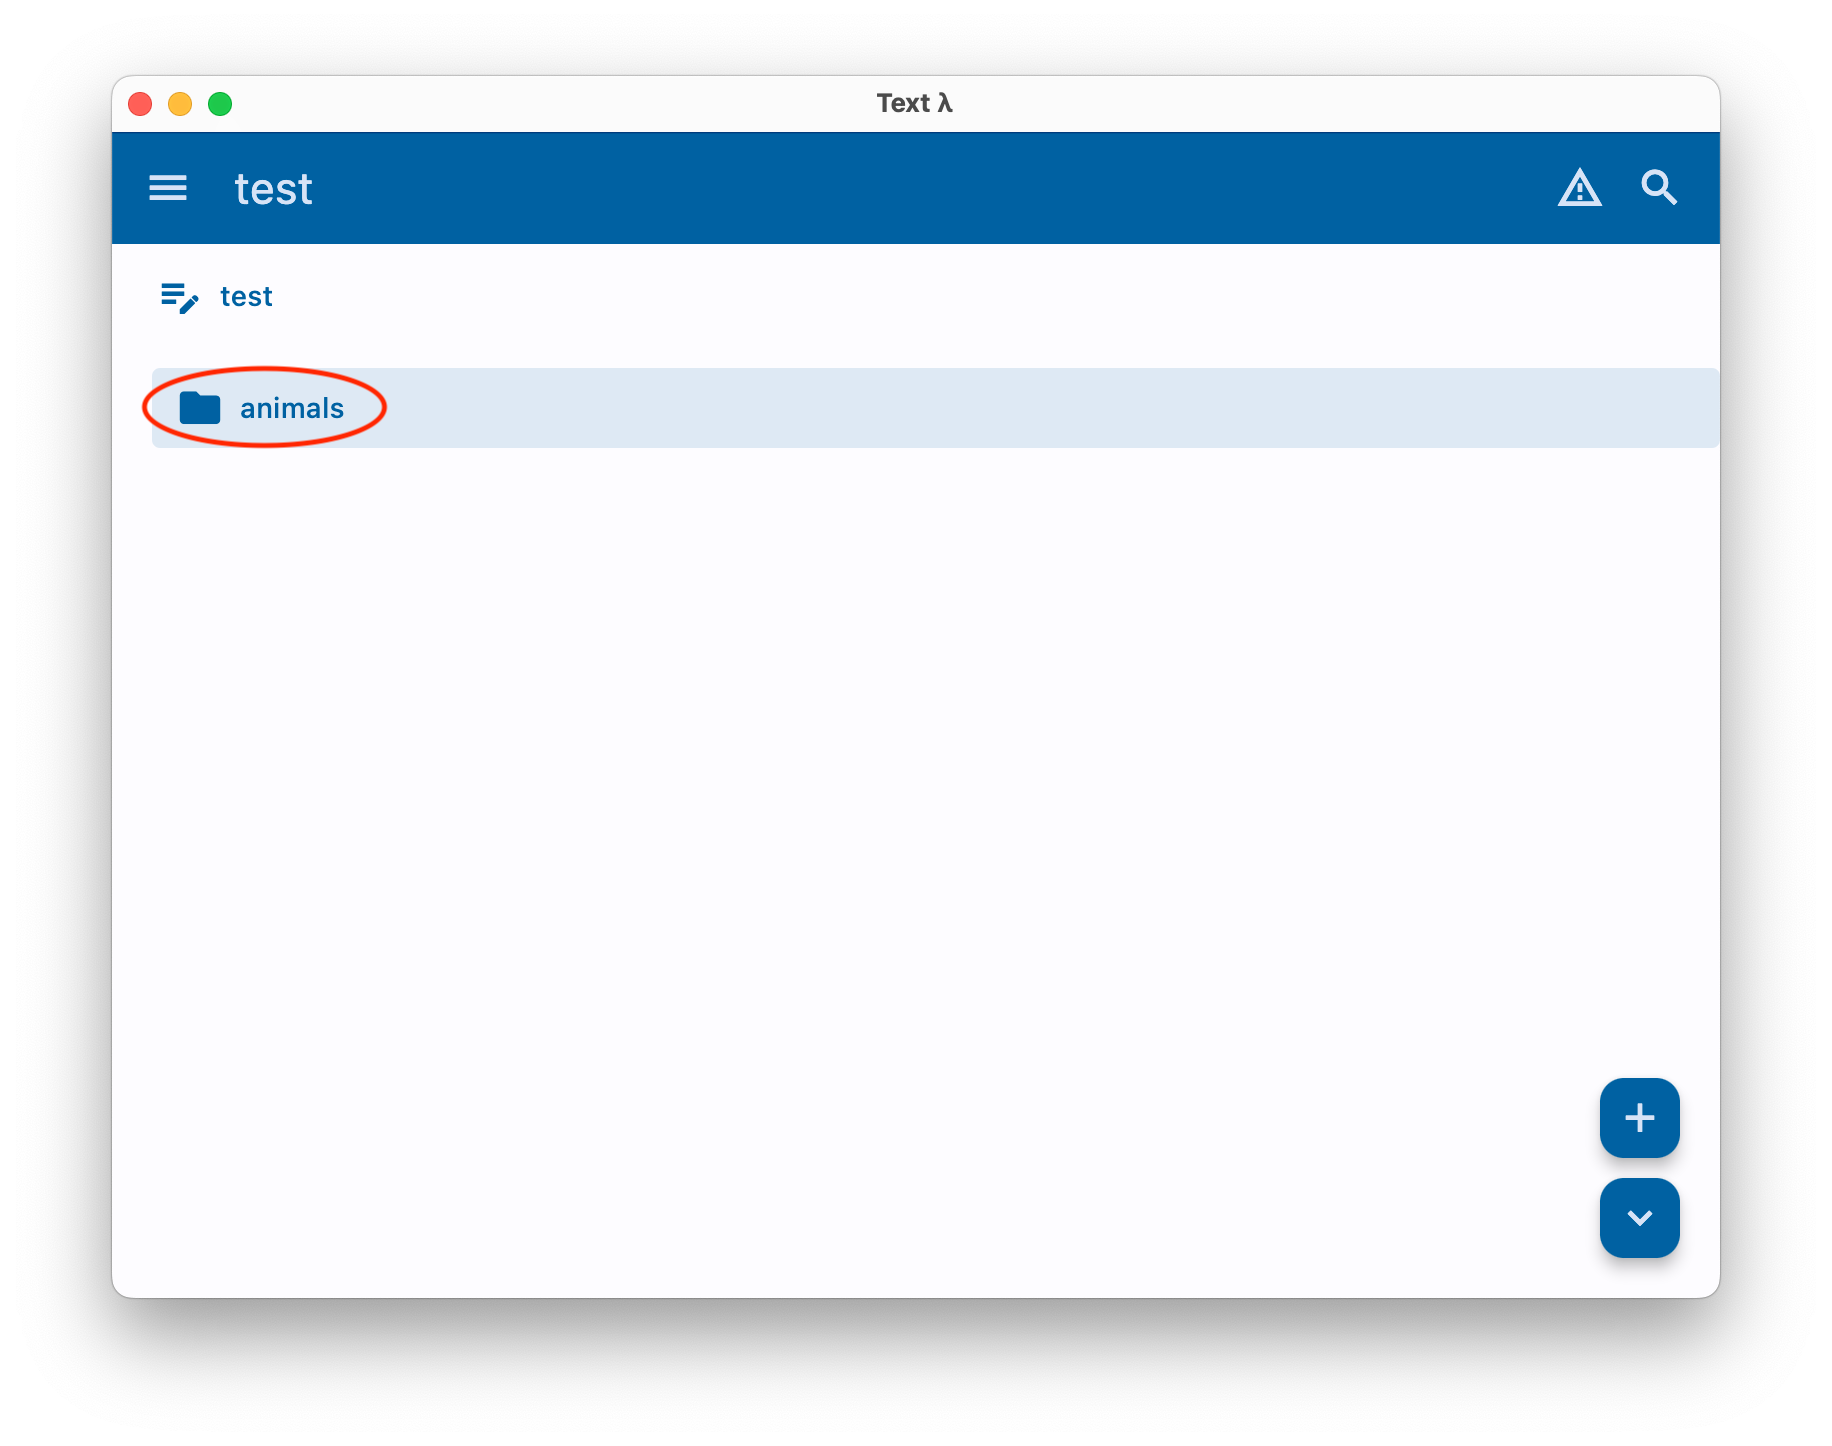
Enter the word animals as the name of the entry. After the entry is created, go inside the entry by clicking on it.
Create three entries under animals: cats.md, dogs.txt and pigeons.org:
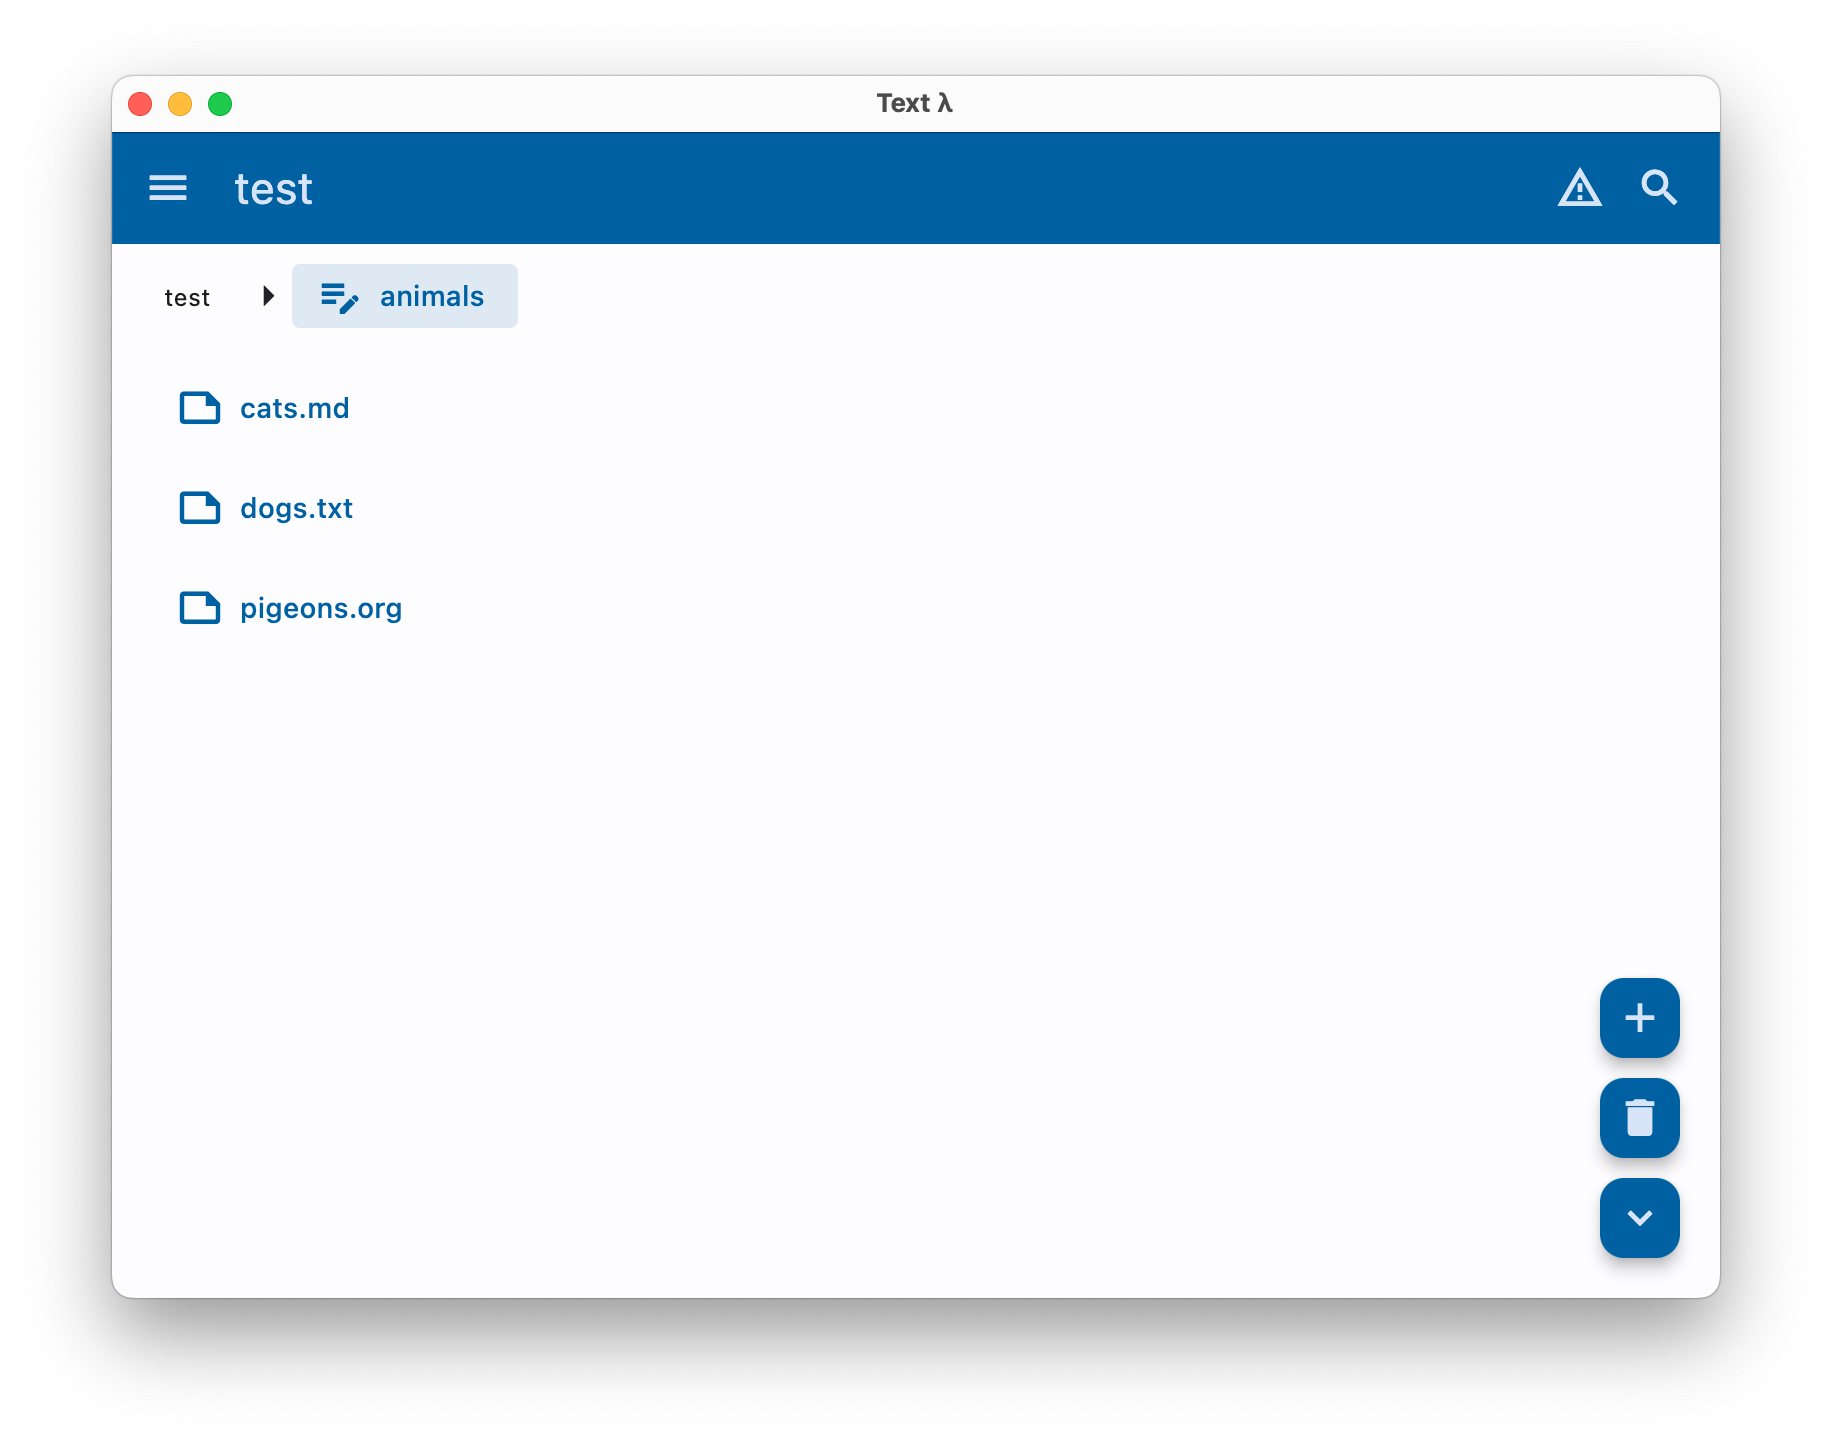
Since we named the entries with .txt, .md and .org suffix, they will be treated like files that you can add text content to.
Note that when we created the animals entry, we didn't add any .xxx suffix to it. Hence, that entry was treated like a folder for storing other entries.
Click on cats.md, enter some text and click save.
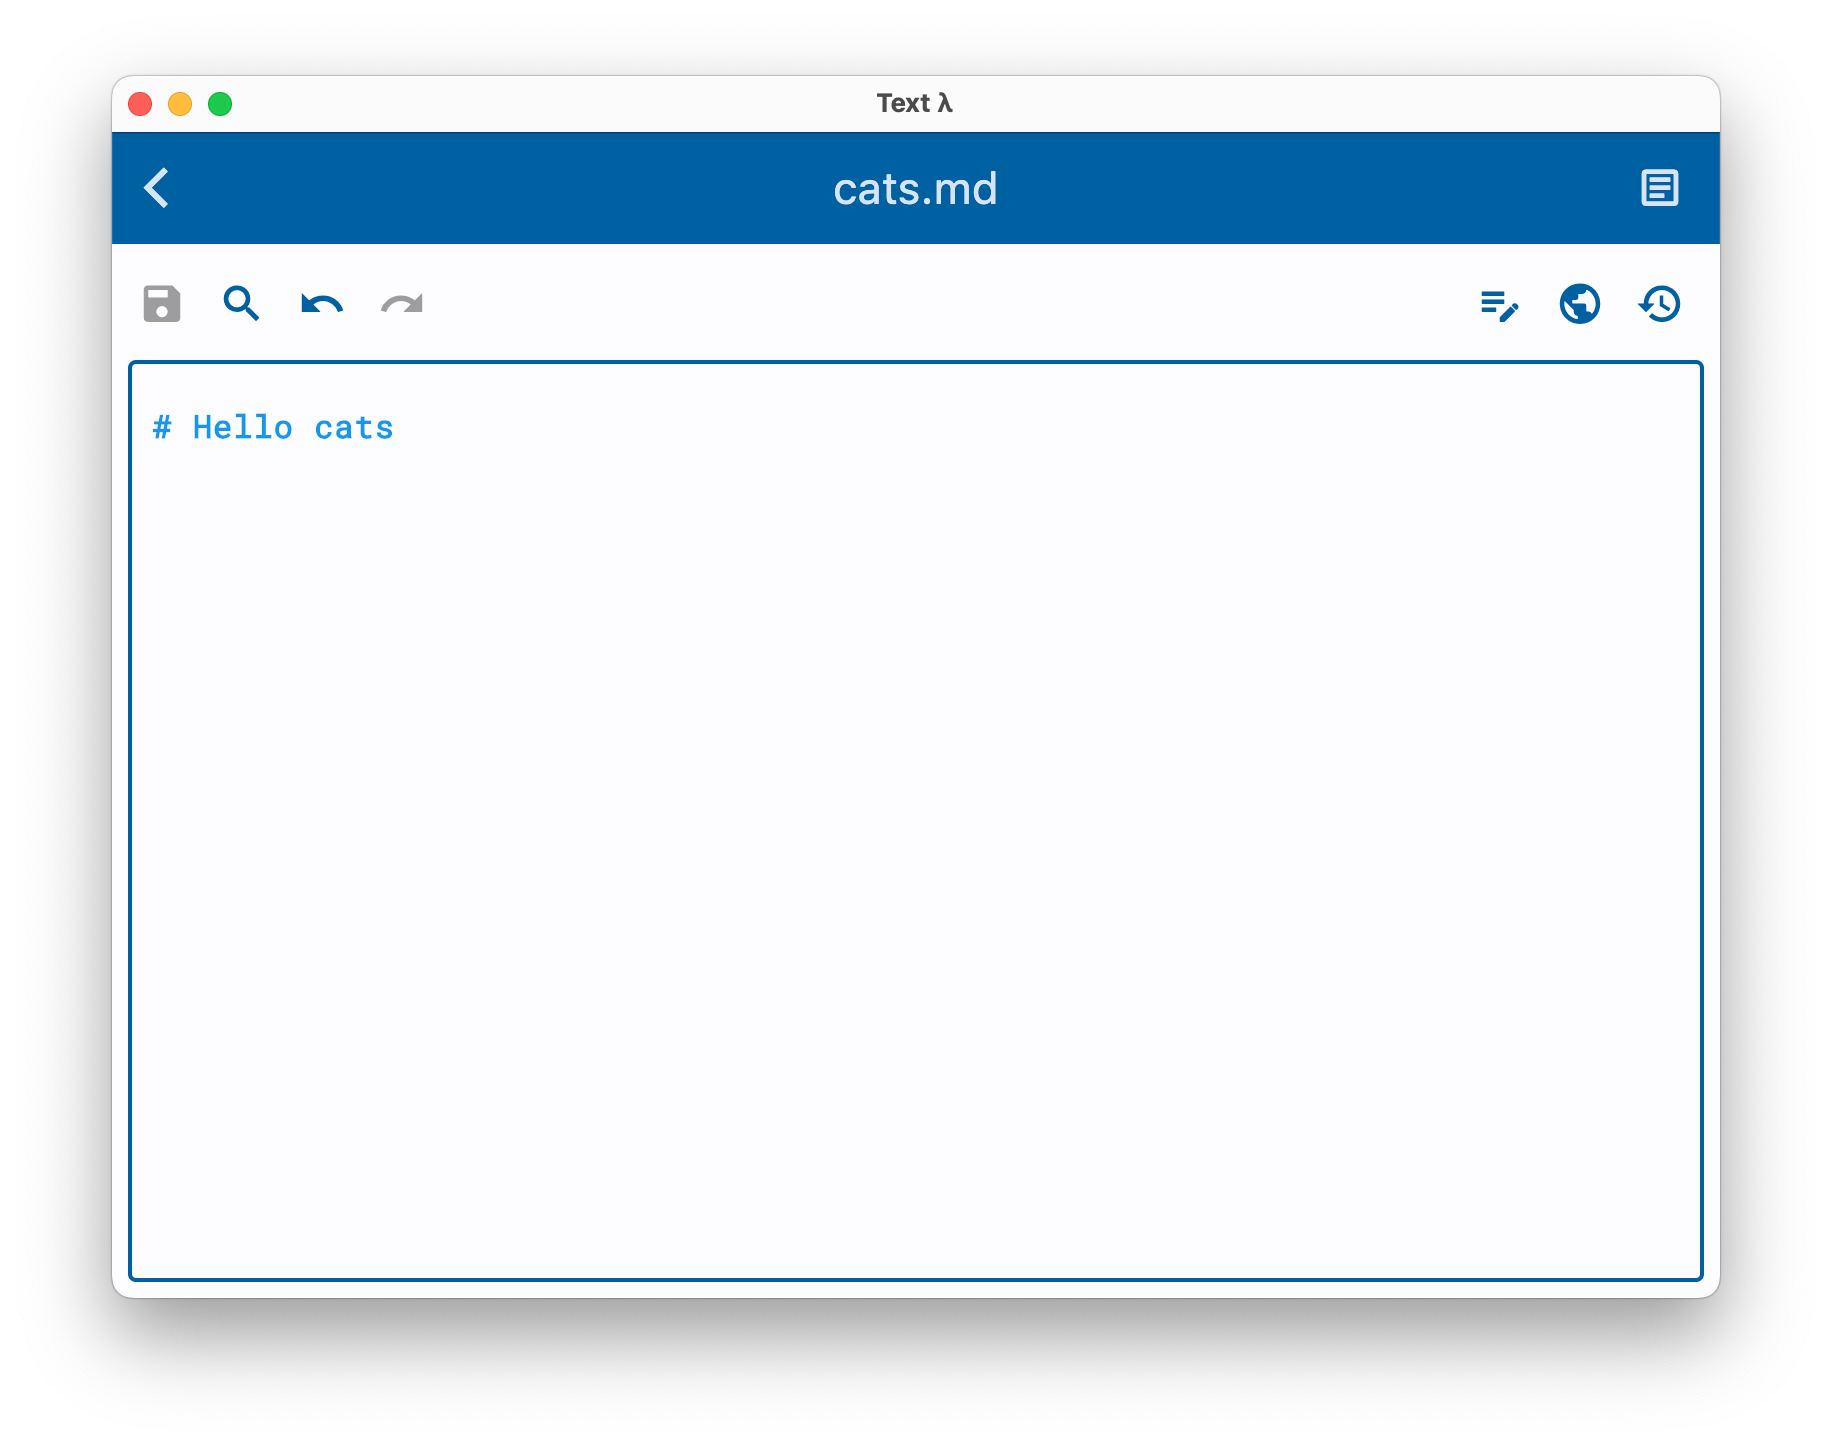
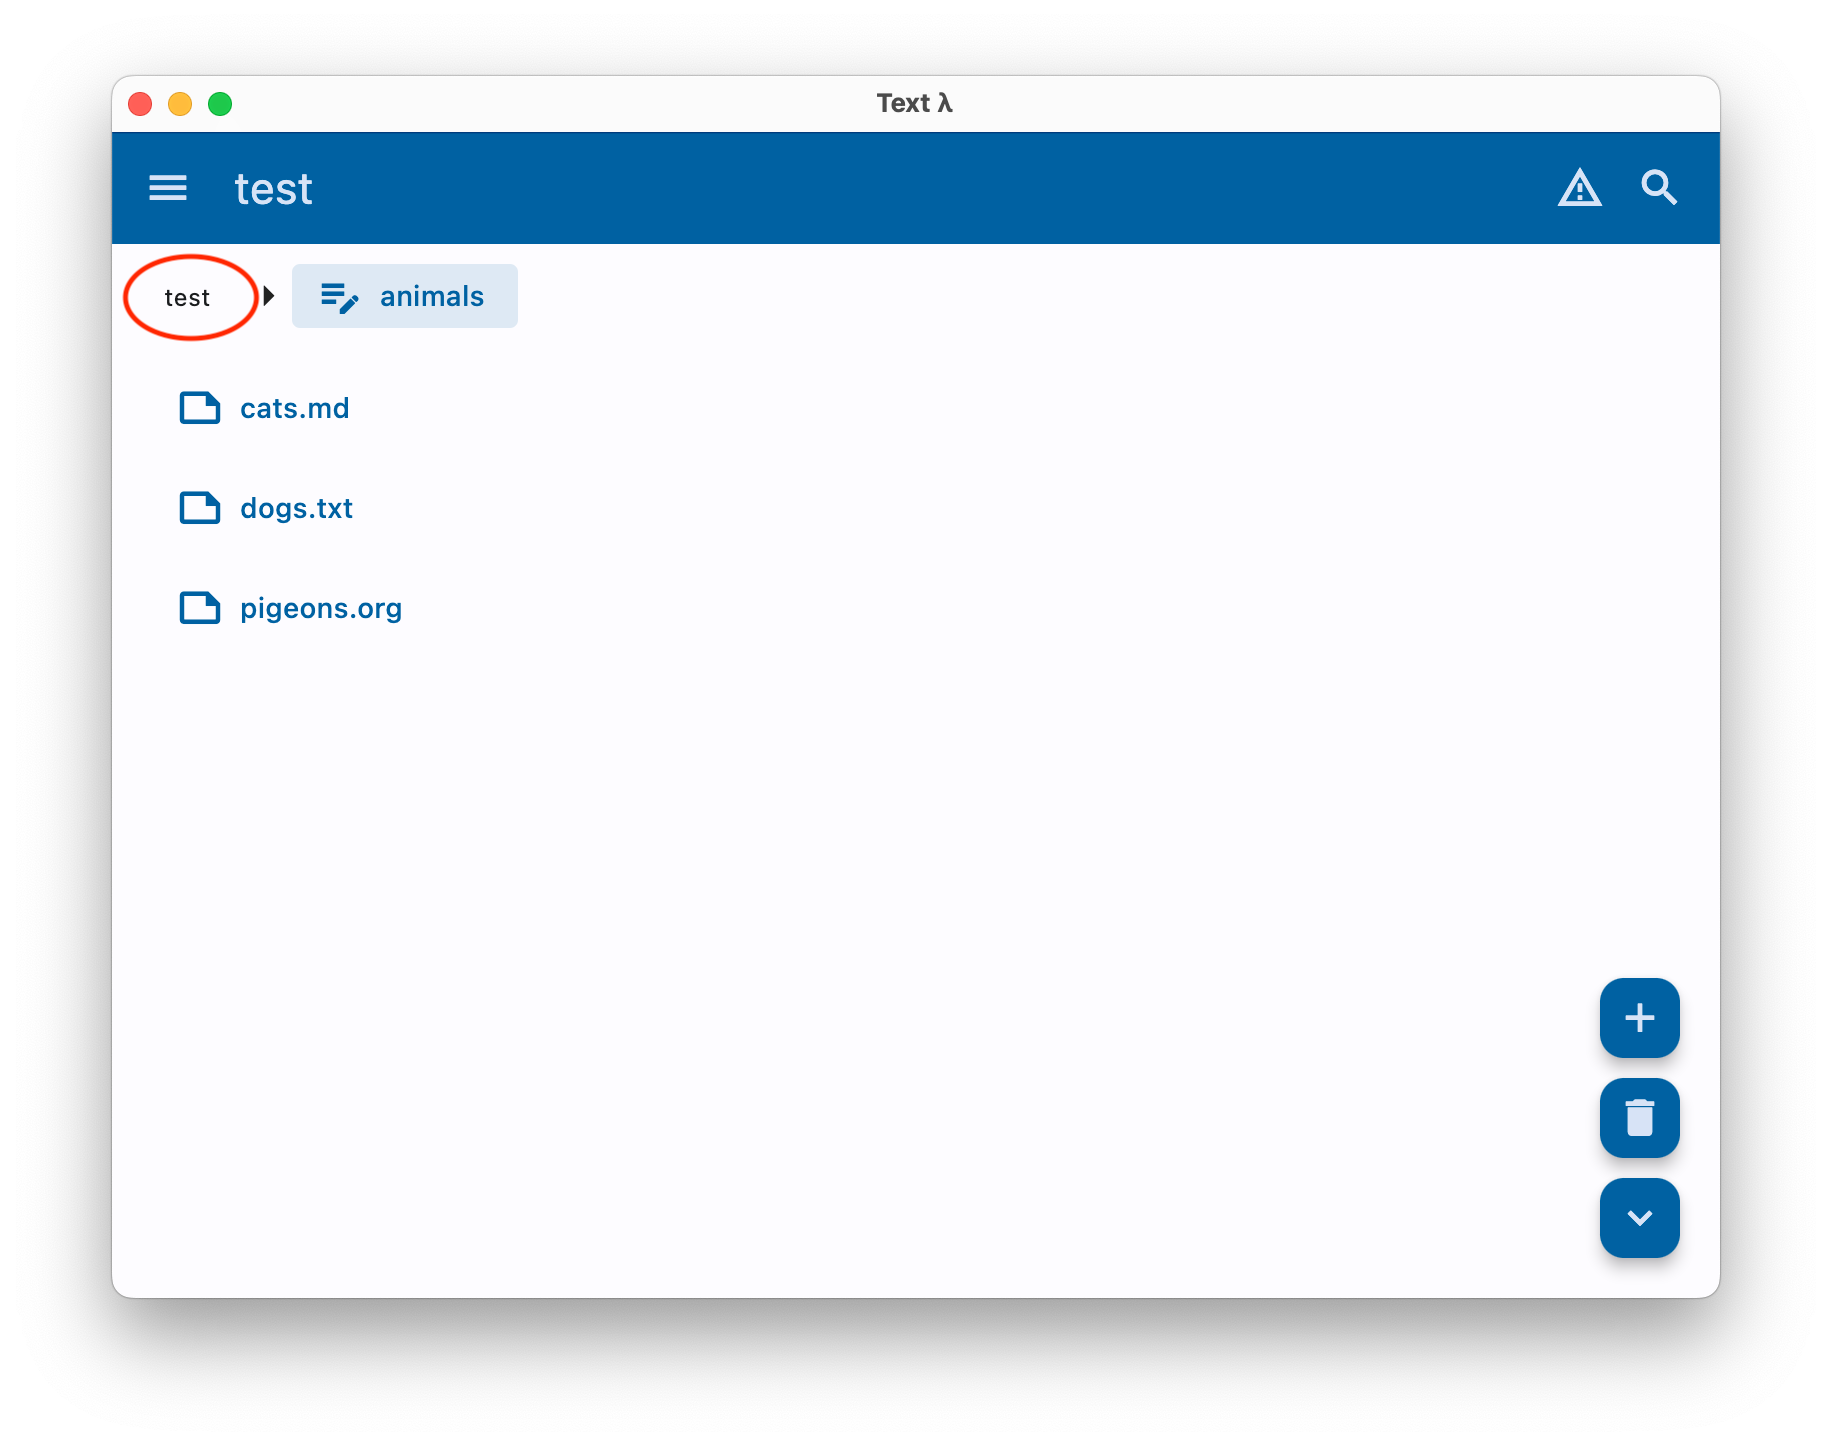
Next, go back to the beginning of the notebook by clicking on test at the top left corner -- these links on top left are your breadcrumbs that you can use to jump to a particular location in the notebook.
Keyboard shortcuts
If you are using the desktop version of the app, you can navigate the notebook using keyboard shortcuts.
See Keyboard shortcuts.